SEEFOOD
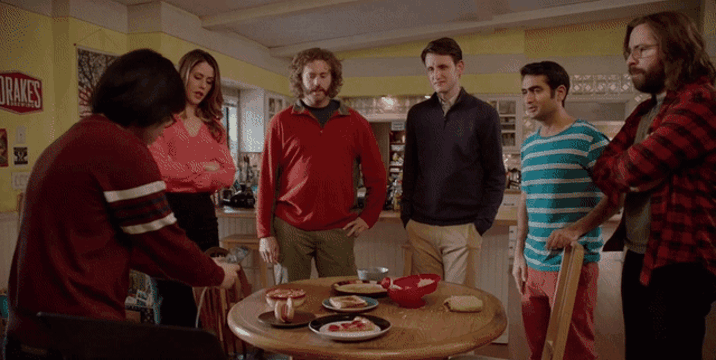
It's shazam for food but only hotdogs (from HBO's Silicon Valley), made using transfer learning (Densenet121)
The Story
When I watched the Silicon Valley episode in 2017 where Jian-Yang builds an app that can only identify hotdogs, I thought it was hilarious. The idea of an AI model so narrowly focused on one food item seemed absurd at the time. But here’s what got me: it actually worked. The app could identify a hotdog with crazy accuracy, and everything else was just “not hotdog.”
Years later, I decided to build it (this was back when people were still excited about training CNNs from scratch, before GPT-2 and ChatGPT era). Transfer learning felt cutting-edge. Now you can build something like this in an afternoon even for funsies, but back then it felt like the frontier of AI.
What I Built
SeeFood is a hotdog classifier that uses computer vision to identify whether food in an image is a hotdog or not. I used a pre-trained DenseNet121 model and applied transfer learning to fine-tune it on a hotdog dataset. The result: an 87% accurate classifier deployed as a web app.
The Technical Side
- Model: DenseNet121 with transfer learning using PyTorch
- Dataset: Hotdog vs Not Hotdog from Kaggle
- Accuracy: 87% on unseen test data
- Deployment: Flask web application
- Tools: Python, PyTorch, GPU acceleration

Deployed On

Blog
I wrote a detailed blog post for IEEE NITK around the time I built this project. You can read it here: IEEE, NITK - SEEFOOD
It covers the basics of Deep Learning, CNNs, and Transfer learning - the concepts that made this project possible. params.require_grad = False #model.classifier -> Linear(in_features=1024, out_features=1000, bias=True)
If we take a look at the classifier currently we can see it's a classifier that has 1024 input features and 1000 output features.
We can redefine this classifier for our case here.

```python
classifier = nn.Sequential(nn.Linear(1024,1024),nn.ReLU(),nn.Dropout(p=0.3),
                           nn.Linear(1024,512),nn.ReLU(),nn.Dropout(p=0.3),
                           nn.Linear(512,2),nn.LogSoftmax(dim=1))
model.classifier = classifier
The classifier now,
model.classifier -> Sequential(
  (0): Linear(in_features=1024, out_features=1024, bias=True)
  (1): ReLU()
  (2): Dropout(p=0.3, inplace=False)
  (3): Linear(in_features=1024, out_features=512, bias=True)
  (4): ReLU()
  (5): Dropout(p=0.3, inplace=False)
  (6): Linear(in_features=512, out_features=2, bias=True)
  (7): LogSoftmax(dim=1)
)
Training the model
For the loss function here we can use the negative log-likelihood loss. Since we are training only the classifier part of the model, we need to include only the parameters from that block in the optimizer.
loss_function = nn.NLLLoss()
optimizer = optim.Adam(model.classifier.parameters(), lr=0.003)
If you are trying to train the model, do make use of GPUs on google colab or kaggle. This speeds up the training process a lot. The standard training loop,
loss_graph , val_loss_graph , acc = [] , [] , []
for _ in range(6):
  running_loss = 0
  val_loss = 0
  device = torch.device("cuda" if torch.cuda.is_available() else "cpu")
  model.train()

  for images, labels in trainLoader:

    images , labels = images.to(device), labels.to(device)
    optimizer.zero_grad()
    logits = model(images)
    loss = loss_function(logits,labels )
    running_loss += loss.item()
    loss.backward()

    optimizer.step()

  with torch.no_grad():
    model.eval()
    cor = 0
    total = 0

    for images,labels in valLoader:
      images , labels = images.to(device), labels.to(device)
      predictions = model(images)
      loss = loss_function(predictions, labels)
      val_loss += loss.item()

      for p,l in zip(torch.argmax(predictions,dim=1 ),labels):
        if p==l:
          cor +=1
        total +=1

  loss_graph.append(running_loss/len(trainLoader))
  val_loss_graph.append(val_loss/len(valLoader))
  acc.append(cor*100/total)
  print(f'training loss : {running_loss/len(trainLoader)} , validation loss : {val_loss/len(valLoader)} , Accuracy : {cor*100/total}')
training loss : 0.8344280552864075 , validation loss : 0.38366479575634005 , Accuracy : 87.4 training loss : 0.3701903349161148 , validation loss : 0.4923225581645966 , Accuracy : 76.2 training loss : 0.40178473711013796 , validation loss : 0.26429639220237733 , Accuracy : 90.2 training loss : 0.29359916508197786 , validation loss : 0.2639751332998276 , Accuracy : 89.6 training loss : 0.23448901653289794 , validation loss : 0.26386004567146304 , Accuracy : 89.6
Result
On training it for about 6 epochs I got around 86% accuracy.